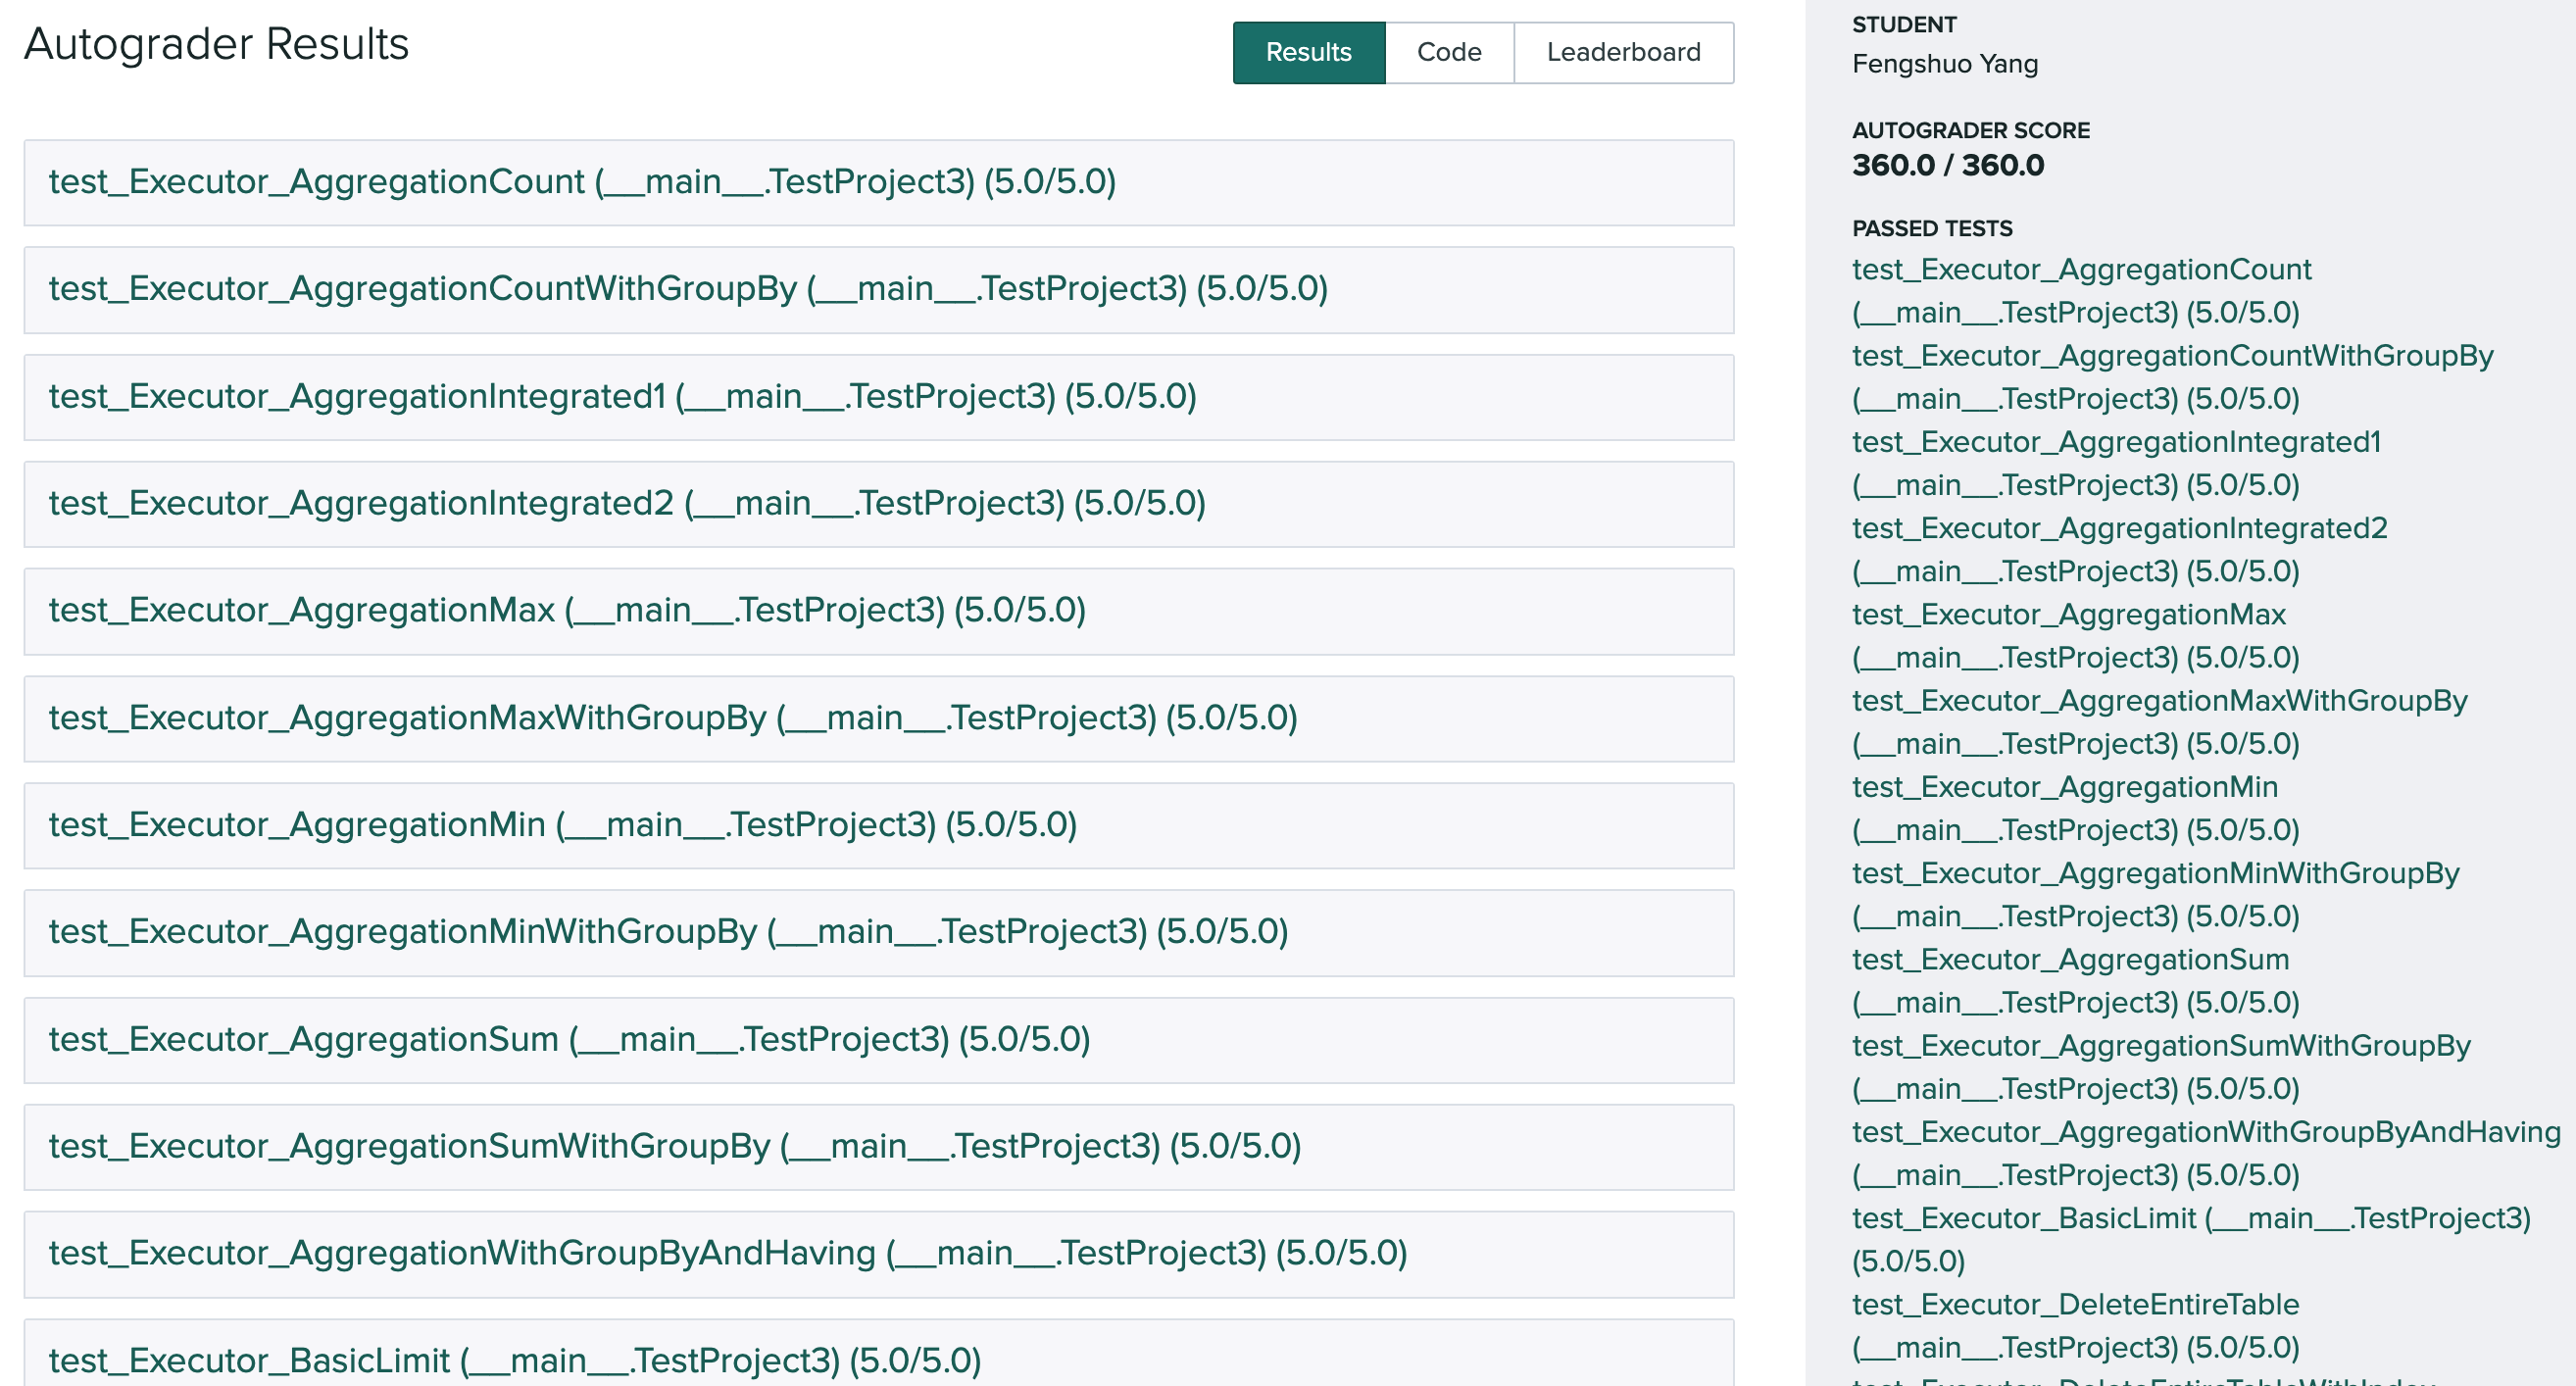
CMU 15-445:project #3 - Query Execution
1. 代码分析
在本次project中,如果想要正确实现,需要阅读大量的相关的代码,所以在此先讲相关的代码及其架构分析一下.
1) Catalog
关于Catalog,简而言之是一个数据库系统记录一些全局信息的数据结构,在后面的执行器中,可以通过Catalog,检索到所需要的信息,比如说Index,Table等.
首先看catalog.h中的Catalog,其中的私有成员如下:
private:
 [[maybe_unused]] BufferPoolManager *bpm_;
 [[maybe_unused]] LockManager *lock_manager_;
 [[maybe_unused]] LogManager *log_manager_;
 std::unordered_map<table_oid_t, std::unique_ptr<TableInfo>> tables_;
 /** Map table name -> table identifiers. */
 std::unordered_map<std::string, table_oid_t> table_names_;
 /** The next table identifier to be used. */
 std::atomic<table_oid_t> next_table_oid_{0};
 std::unordered_map<index_oid_t, std::unique_ptr<IndexInfo>> indexes_;
 std::unordered_map<std::string, std::unordered_map<std::string, index_oid_t>> index_names_;
std::atomic<index_oid_t> next_index_oid_{0};由此可见,可以由table_oid_t来得到相应的TableInfo.还有name字符串道相应的table_oid_t.下面还有与索引的相关的.其中主要的API有:GetTable,GetIndex等,大多数API的实现都是围绕着上面几个map数据结构的操作的.但是除了这些之外,像CreateIndex,CreateTable这些API则会涉及到更加复杂的BufferPoolManager的操作.
然后看schema.h,这个数据结构定义了一个表的模式,主要包括每一列的信息(类型,大小)等.其中核心的数据结构如下:
uint32_t length_;
/** All the columns in the schema, inlined and uninlined. */
std::vector<Column> columns_;
/** True if all the columns are inlined, false otherwise. */
bool tuple_is_inlined_;
/** Indices of all uninlined columns. */
std::vector<uint32_t> uninlined_columns_;其中比较常用的API是GetColumns,GetColumn等,这些关于Get的实现一般都是比较简单的.
但是column.h中有什么呢?一个表的Scheme是由多个Column(如同前面的vector数据成员)组成的,其中包含一些内部信息(name,type,length,offset)等.此外值得注意的是每一个Colmns成员中还会有:
/** Expression used to create this column **/
const AbstractExpression *expr_;
及其相关的Get接口.至于其具体作用,在后面具体分析.
2) Table
Tuple
相关的类主要是:Tuple,TableHeap,TableIterator.其中Tuple之最基础的单位,即为“元组”,表示关系中的一个条目.其中的数据成员如下:
bool allocated_{false};  // is allocated?
 RID rid_{};              // if pointing to the table heap, the rid is valid
 uint32_t size_{0};
 char *data_{nullptr};
其中rid是一个用来在磁盘上检索Tuple的索引(更具体地说,表明了所属的page_id,以及再改page_id中对应的slot的位置),size表明了该Tuple的大小,其中data是一个缓冲区对应该tuple的实际内容.其中相关的API主要是一些Get操作,其中有:
Tuple KeyFromTuple(const Schema &schema, const Schema &key_schema, const std::vector<uint32_t> &key_attrs);
Value GetValue(const Schema *schema, uint32_t column_idx) const;API比较关键,也比较复杂.GetTuple用于从缓冲区的内容中,根据一个shema提取出column_idx,并将其“翻译”成Value类型,作为返回.关于KeyFromTuple比较复杂,在后面也多次用到,留到后面再说.
总的来说关于其中Value的读取,主要根据参数中Scheme中的Colmns来在Tuple中的data缓冲区中定位到数据,然后翻译成Value.
TableHeap
TableHeap表示的是一个磁盘中的物理页(不是内存),一个物理页中包含多个TablePage(也就对应于Buffer
Pool中可以装载的内存页).其中对于这些TablePage的访问,是通过TableIterator进行的(提供了Begin,Next等迭代器接口).其余的API主要围绕着对于Tuple的操作,其中RID是TableHeap检索Tuple的重要参数.比如说下面的UpdateTuple中:
bool TableHeap::UpdateTuple(const Tuple &tuple, const RID &rid, Transaction *txn) {
  // Find the page which contains the tuple.
  auto page = reinterpret_cast<TablePage *>(buffer_pool_manager_->FetchPage(rid.GetPageId()));
  // If the page could not be found, then abort the transaction.
  if (page == nullptr) {
    txn->SetState(TransactionState::ABORTED);
    return false;
  }
  // Update the tuple; but first save the old value for rollbacks.
  Tuple old_tuple;
  page->WLatch();
  bool is_updated = page->UpdateTuple(tuple, &old_tuple, rid, txn, lock_manager_, log_manager_);
  page->WUnlatch();
  buffer_pool_manager_->UnpinPage(page->GetTablePageId(), is_updated);
  // Update the transaction's write set.
  if (is_updated && txn->GetState() != TransactionState::ABORTED) {
    txn->GetWriteSet()->emplace_back(rid, WType::UPDATE, old_tuple, this);
  }
  return is_updated;
}
首先会借助RID中的Fetch获取其所处的页,然后进行对该页的Update(也就是基于我们所熟悉的BufferPool的一些API完成).
TableIterator
前面提到过,TableHeap中有提供的迭代器接口(Begin,End)可以用来遍历其中的Page,其返回类型为TableIterator.每一个TableIterator的数据成员如下:
TableHeap *table_heap_;
 Tuple *tuple_;
 Transaction *txn_;
一个TableIterator的原子单位是该Page中的一个tuple,也就是上面的tuple指针,而table_heap_也就是该迭代器所处的TableHeap.至于内部关于迭代器的一些重载实现,我们主要关注迭代器中最重要的,比如*,->,++操作的实现.
Tuple *TableIterator::operator->() {
  assert(*this != table_heap_->End());
  return tuple_;
}
const Tuple &TableIterator::operator*() {
  assert(*this != table_heap_->End());
  return *tuple_;
}
上面的实现比较简单都是基于TableIterator的最小操作单位,也就是一个Tuple.
而关于++的实现则是比较复杂的.结合前面的理解,一个++操作意味着Tuple指针移动到当前table_heap中的下一个Tuple.因此这涉及到了需要借助Buffer Pool的Fetch,Unpin,GetTuple`等操作,可能涉及到不只一个内存页的读取和Unpin.
3) Executor
ExecutorContext
顾名思义,该类为执行器提供一些全局性的信息(也就是执行器背景).其中成员函数是这些全局性信息的指针(比如说Catalog,Buffer Pool,Lock Manafer等),主要API也是GET类型的,比如说:
Transaction *GetTransaction() const { return transaction_; }
Catalog *GetCatalog() { return catalog_; }
BufferPoolManager *GetBufferPoolManager() { return bpm_; }
LogManager *GetLogManager() { return nullptr; }
LockManager *GetLockManager() { return lock_mgr_; }
TransactionManager *GetTransactionManager() { return txn_mgr_; }
ExecutorPlan
对于一个SQL查询语句,内核会将其组织称一个树状的形式,自树的leaf道root递归地计算,最终从root得到最终的结果.其中每个ExecutorPlan代表查询树中的一个节点.
其中为了对应多态实现的Executor,Executor也是多态的,首先说明一下其中抽象类的实现(数据成员):
private:
 const Schema *output_schema_;
std::vector<const AbstractPlanNode *> children_;output_schema定义了执行完该节点后所得到Tuple的模式(相当于于投影机制).而children则对应了查询树中的子结点.关于其所能提供的API,也是一些围绕着output_schema_和children_展开的.至于其派生类,后面结合Executor的实现,进行分析.
ExecutorFactory
这个类的实现采用了工厂模式.由于容器在bustub中的实现是基于多态实现的,也就是说定义一个执行器基类,然后可以定义不同种类的执行器.其中相关的接口如下:
static std::unique_ptr<AbstractExecutor> CreateExecutor(ExecutorContext *exec_ctx, const AbstractPlanNode *plan);2.代码实现
1) SeqScanExecutor
是整个project中最最基础的Executor类型,其他像UpdateExecutor,DeleteExector等类型往往都是以SeqScanExecutor作为child_executor的.
我的实现中有如下几个数据成员及其构造函数:
 private:
  /** The sequential scan plan node to be executed */
  TableInfo *info_;
  std::shared_ptr<TableIterator> iterator_;
  const SeqScanPlanNode *plan_;
......

  SeqScanExecutor::SeqScanExecutor(ExecutorContext *exec_ctx, const SeqScanPlanNode *plan)
    : AbstractExecutor(exec_ctx), info_(nullptr), iterator_(nullptr), plan_(plan) {}
构造函数中有一个plan和exec_ctx.其中exec_ctx封装了一些全局的对象,比如说当前的事务,Catalog,BufferPool等.而关于plan对象,其数据成员如下:
const AbstractExpression *predicate_;
/** The table whose tuples should be scanned */
table_oid_t table_oid_;
再结合相关的API,我们可以知道这个对象会给出SeqScan作用的表id以及相关的谓词判断,用于执行条件过滤.
围绕着这几个数据成员,在Init函数中会初始化iterator_(设置成TableHeap的Begin),还有info_指针的设置.
关于Next的实现,基于遍历TableIterator实现,最终只返回一个,其中的重点是对于每个遍历的Tuple需要借助谓词来筛选.相关的代码如下:
if (plan_->GetPredicate() == nullptr || plan_->GetPredicate()->Evaluate(&tup, &info_->schema_).GetAs<bool>()) {
       ......
      }
此外,对于遍历的Tuple还需要根据OutputScheme进行调整.其中相关的实现如下:
std::vector<Value> values;
values.reserve(output_schema->GetColumnCount());
for (size_t i = 0; i < output_schema->GetColumnCount(); i++) {
  values.push_back(output_schema->GetColumn(i).GetExpr()->Evaluate(&tup, &info_->schema_));
}
2) Insert
Insert有两种类型,需要根据plan判断:
bool IsRawInsert() const { return GetChildren().empty(); }然后根据Insert的类型,确定在初始化时是否需要对child_executor进行初始化.
关于Next操作,需要注意的是Next操作是一次性将插入全部,而不是一次性插入一个.其方法基本上是遍历RawValues或者chile_executor,从中获取或者构造出一个Tuple,然后插入调用InsertEntry.其中需要注意的是索引相关的更新.其相关代码如下:
auto indexes = exec_ctx_->GetCatalog()->GetTableIndexes(info_->name_);
for (auto &index : indexes) {
  index->index_->InsertEntry(
      tmp_next.KeyFromTuple(info_->schema_, index->key_schema_, index->index_->GetKeyAttrs()), tmp_rid,
      AbstractExecutor::exec_ctx_->GetTransaction());
}
关于Update,Delete与之类似.
3) Nested Loop Join
这个无非就是在初始化(Init)的时候将两个表设置到Init,Next中就是两重循环(也就是对应两个表).并且需要检查条件,如果符合条件则返回,一次返回一个.关于条件判断的部分,代码如下:
if (plan_->Predicate() == nullptr || plan_->Predicate()
                                         ->EvaluateJoin(&curr_left_tuple_, left_executor_->GetOutputSchema(),
                                                        &right_tup, right_executor_->GetOutputSchema())
                                         .GetAs<bool>()) {
4) Hash Join
实现的基本思路是,首先将其中一个表将其中与Hash Join有关的key构造一个Hash Map.这个Hash Map的key是这些表中有关的键值,value则是一个个的Tuple.其中具体的实现如下:
class SimpleHashJoinHashTable {
 public:
  using tuples = std::vector<Tuple>;

  SimpleHashJoinHashTable() = default;
  void Insert(const HashJoinKey &hashkey, const Tuple &tuple) {
    if (buckets_.count(hashkey) == 0) {
      tuples init_tuples;
      init_tuples.push_back(tuple);
      buckets_.insert({hashkey, std::move(init_tuples)});
    } else {
      buckets_[hashkey].push_back(tuple);
    }
  }

  Tuple GetTuple(const HashJoinKey &hashkey, uint32_t idx) const {
    auto find_it = buckets_.find(hashkey);
    assert(find_it != buckets_.end());
    return find_it->second[idx];
  }

  int32_t GetSize(const HashJoinKey &hashkey) const {
    auto find_it = buckets_.find(hashkey);
    if (find_it == buckets_.end()) {
      return -1;
    }
    return static_cast<int32_t>(find_it->second.size());
  }

 private:
  std::unordered_map<HashJoinKey, tuples, HashJoinHashFunc> buckets_;
};其中这个类的数据成员是一个std::unordered_map,HashJoin也就对应了一个表中和Hash
Join有关的键值.其中关于std::unordered_map的一些有关于STL的操作还是值得注意的.独具键值来说HashJoinKey是一个对象,其中的‘==’是需要重载的.还有关于仿函数的定义和设置:
class HashJoinKey {
 public:
  Value value_;
  bool operator==(const HashJoinKey &key) const {
    auto cmp = value_.CompareEquals(key.value_);
    return cmp == CmpBool::CmpTrue;
  }
};

class HashJoinHashFunc {
 public:
  std::size_t operator()(const bustub::HashJoinKey &hashJoinKey) const {
    size_t curr_hash = 0;
    curr_hash = bustub::HashUtil::CombineHashes(curr_hash, bustub::HashUtil::HashValue(&hashJoinKey.value_));
    return curr_hash;
  }
};定义好SimpleHashJoinTable的数据结构,就可以实现Init和Next.其中Init需要将其中一个表遍历一遍,将该表记为left
child,每遍历一个Tuple都需要根据plan中的LeftJoinKeyExpression来从Tuple中提取Value,然后构造出{joinkey, tuple}.插入到SimpleHashJoinTable中.在Next中,遍历的线索有两条,第一条是SimpleHashJoinTable中的key,第二条则是另一个表(没有在Init中用来构造哈希表的,记为right
child).更具体地说,我们遍历另一个表,得出其中的Value,然后代入到Hash
Table中可以得出对应Tuple,每次Next返回一个.因此我们需要借助额外的变量记录上一次Next所到达的left
child的Tuple.如下:
std::pair<HashJoinKey, int32_t> curr_left_tuple_;
Tuple curr_right_tuple_;
5) Aggregation
Aggregation的实现思路和Hash Join差不多,都需要借助一个Hash
Table,但是其实现相对来说比较简单,对于这个Hash表,直接使用了给出的SimpleAggregationHashTable.只有Distinct也差不多,不过Distinct对于SimpleAggregationHashTable上,我将key设置成一个Tuple的Value,而Hash
Table中的value我设置为null(就是什么都没有).因为我们只需要实现一个去重的作用.
3.其他记录
最后的结果,继续冲!
